
Project Overview
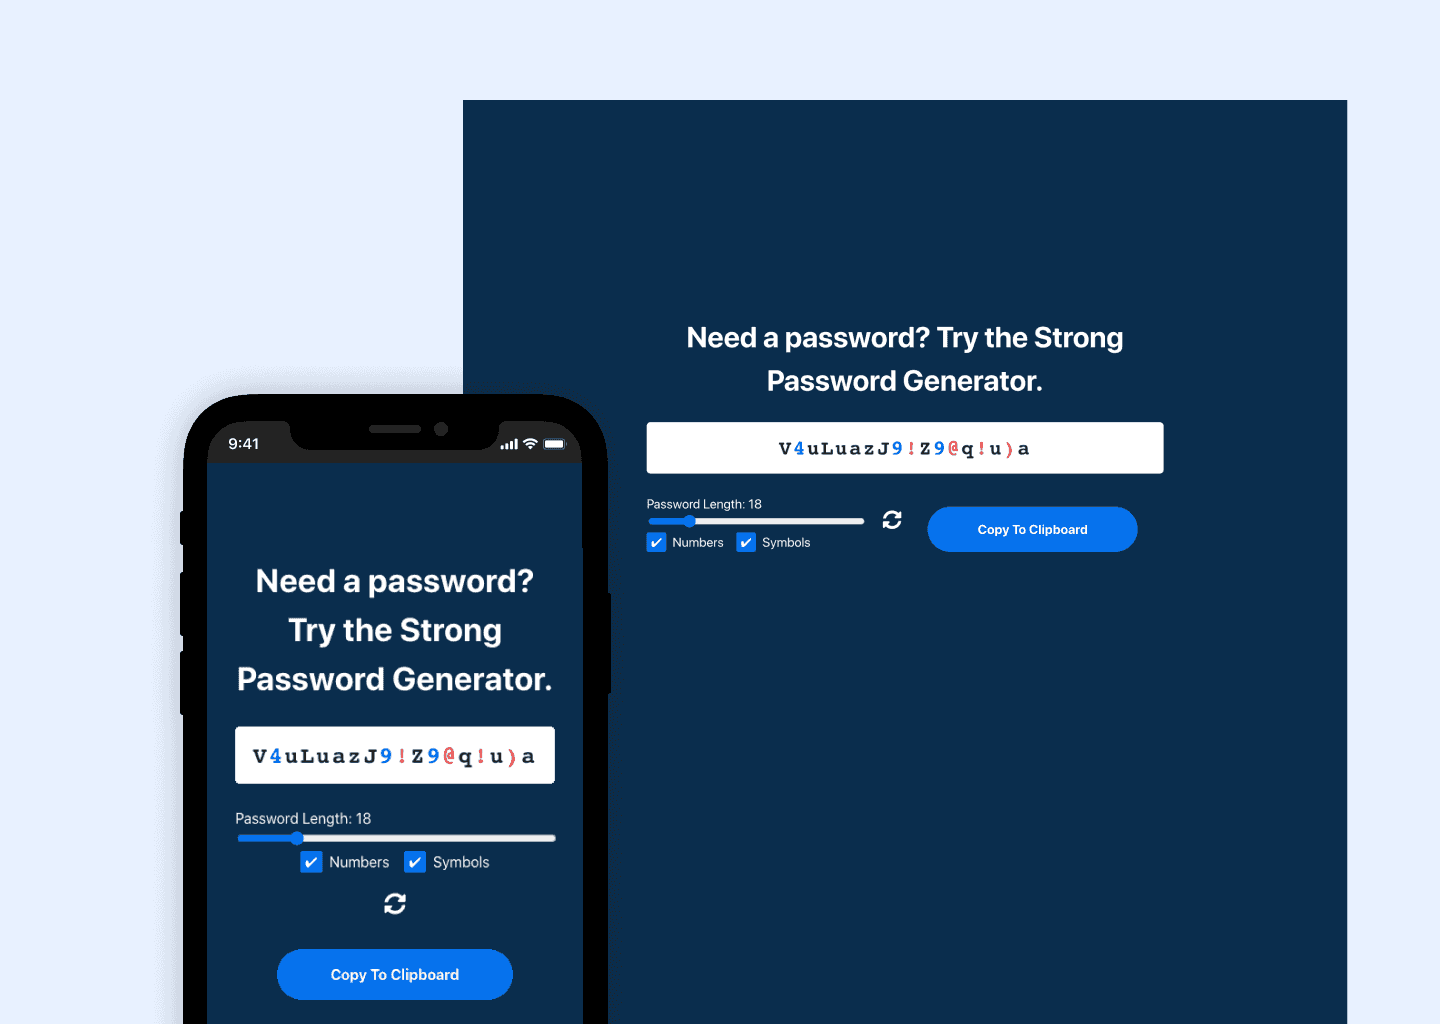
This app takes care of all your strong password needs, from customizing the password length to including numbers and/or symbols in addition to letters. You can also conveniently copy it to your clipboard with the click of a button.
- React
- Wordnik API
- Netlify
Purpose and Goal
As a longtime customer of 1Password, I was immediately intrigued when I saw their new password generator. Unsurprisingly, I had to try recreating it from scratch on my own. I also wanted an excuse to try out another project with React. Hence, this is a mostly-faithful clone built with React and hosted on Netlify.
Tech Stack
This project is built a standard create-react-app boilerplate and makes use of the useState hook primarily to store state as well respond to user inputs and render those changes back to the DOM.
Problems and Solutions
Custom Checkboxes
One of the first challenges was styling the custom checkbox that I wanted to use. While seemingly straightforward, it quickly became more of a formidable task than I had anticipated. It turns out web browsers aren't that keen on allowing much control over styling standard inputs like these.
Thankfully, after researching a few common workarounds, I arrived at one that I was happy with. This involved wrapping the <input> and <label> elements in a wrapping <div> container and using the ::before pseudo-element to style the custom checkbox.
Unique color styling for numbers & symbols
Another challenge was coloring the numbers and symbols separately so they were more noticeable when generating a password or checking/unchecking the respective checkboxes.
To achieve this, I utilized the npm package, html-react-parser, to allow me to parse custom <span> classes that I assigned based on a regex check to see if the randomly-generated string contained any numbers or symbols:
src/App.js
import React from 'react';import parser from "html-react-parser";
...
function App() {
  ...
  const generatePassword = (    passwordLength,    num = numbersIsChecked,    sym = symbolsIsChecked  ) => {    let filteredChars = chars;    let plainPasswd = "";    let passwd = "";
    if (!num && !sym) {      filteredChars = chars.match(/[^\d!@#$%^&*()_]+/)[0];    }    if (num && !sym) {      filteredChars = chars.match(/[^!@#$%^&*()_]+/)[0];    }    if (!num && sym) {      filteredChars = chars.match(/[^\d]+/)[0];    }
    for (let i = 0; i < passwordLength; i++) {      let entry =        filteredChars[Math.floor(Math.random() * filteredChars.length)];      plainPasswd += entry;
      entry = entry.match(/\d/)        ? `<span class="number">${entry}</span>`        : entry.match(/[!@#$%^&*()_]/)        ? `<span class="symbol">${entry}</span>`        : entry.match(/[a-zA-Z]/)        ? `<span class="letter">${entry}</span>`        : entry;
      passwd += entry;    }    setPlainPasswd(plainPasswd);    setPassword(parser(passwd));  };
...
}
Worked like a charm and allowed for some nifty color-coding and fun user interaction.
Lessons Learned
This project provided another great learning opportunity for continuing to get familiar with React as well as useState and the overall rendering capabilities when responding to input from the DOM.
I also find myself using this all the time (even more so than 1Password's), in part because I get a kick out of using something that I've made. It's definitely become a regular tool in my toolbox.
Future additions
I was also planning on implementing the random-word password feature that 1Password's generator is equipped with, and had planned on using the Wordnik API to source those words. I created the basic boilerplate, but discovered that the API was pulling in inappropriate words, which I didn't want to include in a user-facing application. I am continuing to work on this feature addition.
